|
|
|
PC Board Manufacturing
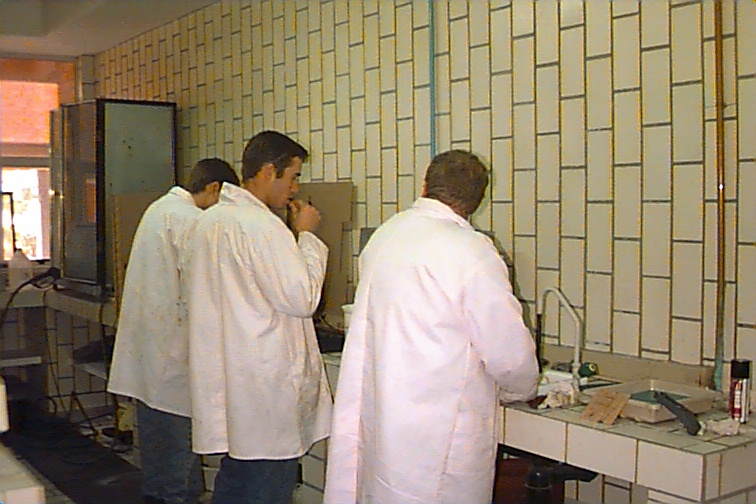

All pitching in to clean the PC Boards. A close-up on the cleaning process.
There are 16 steps to manufacture a PC Board . . .
Step 1: The Drilling or the PC Board (the drilling of holes into the PC Board)
Step 2: The making of the photo (the circuit is first printed onto translucent or wax paper and is then used to make a negative photo)
Step 3: The Laminating (a blue "plastic" film is rolled on the PC Board)
Step 4: The Exposure (the blue film is exposed to ultra violet light)
Step 5: The Development (the unnecessary blue film is them removed, exposing the copper that has to be etched )
Step 6: The Etching (the removal of the exposed copper through Ferric Chloride)
Step 7: Silk Screening (Applying a thin layer of paint onto the board by means of a silk screen which is repeated 3 times during the process *1-bottom solder mask, *2-top solder mask and *3-top component silk)
Step 8: The Baking in the oven (the PC Board is baked for 30 min on between a 80º-120º)
Step 9: The Exposure (the blue film is exposed to ultra violet light)
Step 10: The Developing (the unnecessary paint is then removed)
Step 7 - 10 is repeated 3 times
They also do layering consisting of Single Sided (a copper layer just on one side) and Double Sided (copper layers on both sides) layers. They will also be doing Through - Hole Plating soon (when copper is placed through the holes, manufactured for double sided PC Boards)